SKG Cable Tag — My First [Independent] 3D Print
2026-03-21
3D printing is so magical to me. While at Penn, I went to a Venture Lab workshop on 3D printing and was able to participate in a name-plate workshop. I loved the experience, and was inspired to try to make soemthing myself. I was STOKED to learn that the Capitol Hill Tool Library - a mere 3 blocks from my apartment - has a 3D printer that is free to use. Newly armed with the ability to learn anything with AI (!!) I set out to find something that would be fun to print and have Claude walk me through making it. I saw a product online — a little 3D-printed name tag clipped onto a charging cable — and thought it seemed like a great initial project - personalized, a compound of basic shapes, and small. The Capitol Hill Tool Library has a Bambu Lab X1 Carbon, and I went in to learn about the print requirements.
The Idea
I wanted something with my initials, SKG, that would clip onto my iPhone and Garmin charger cables so I can tell them apart. Simple enough in theory. The first design question: how does it actually attach?
Snap or tube?
My first instinct was a snap-clip — something that presses onto the cable from the side. But cables have connectors on both ends (a USB plug on one side, a Lightning or USB-C on the other), so you can't thread a tag on from the end. The opening would need to be wide enough to slide over the connector head.
That led to the better idea: a ring with a tunnel through it — like a chunky signet ring. The cable threads through the middle. No snapping, no worrying about grip. The cable just lives inside it.
Lightning connector heads are about 7.5mm × 5mm, so I sized the tunnel to 5mm diameter — wide enough for the cable body (~3.5mm) to slide freely, narrow enough to stay put once positioned.
Building it in Tinkercad
I used Tinkercad — free, browser-based, no install. The whole design is just three shapes: a box, a cylinder hole, and text.
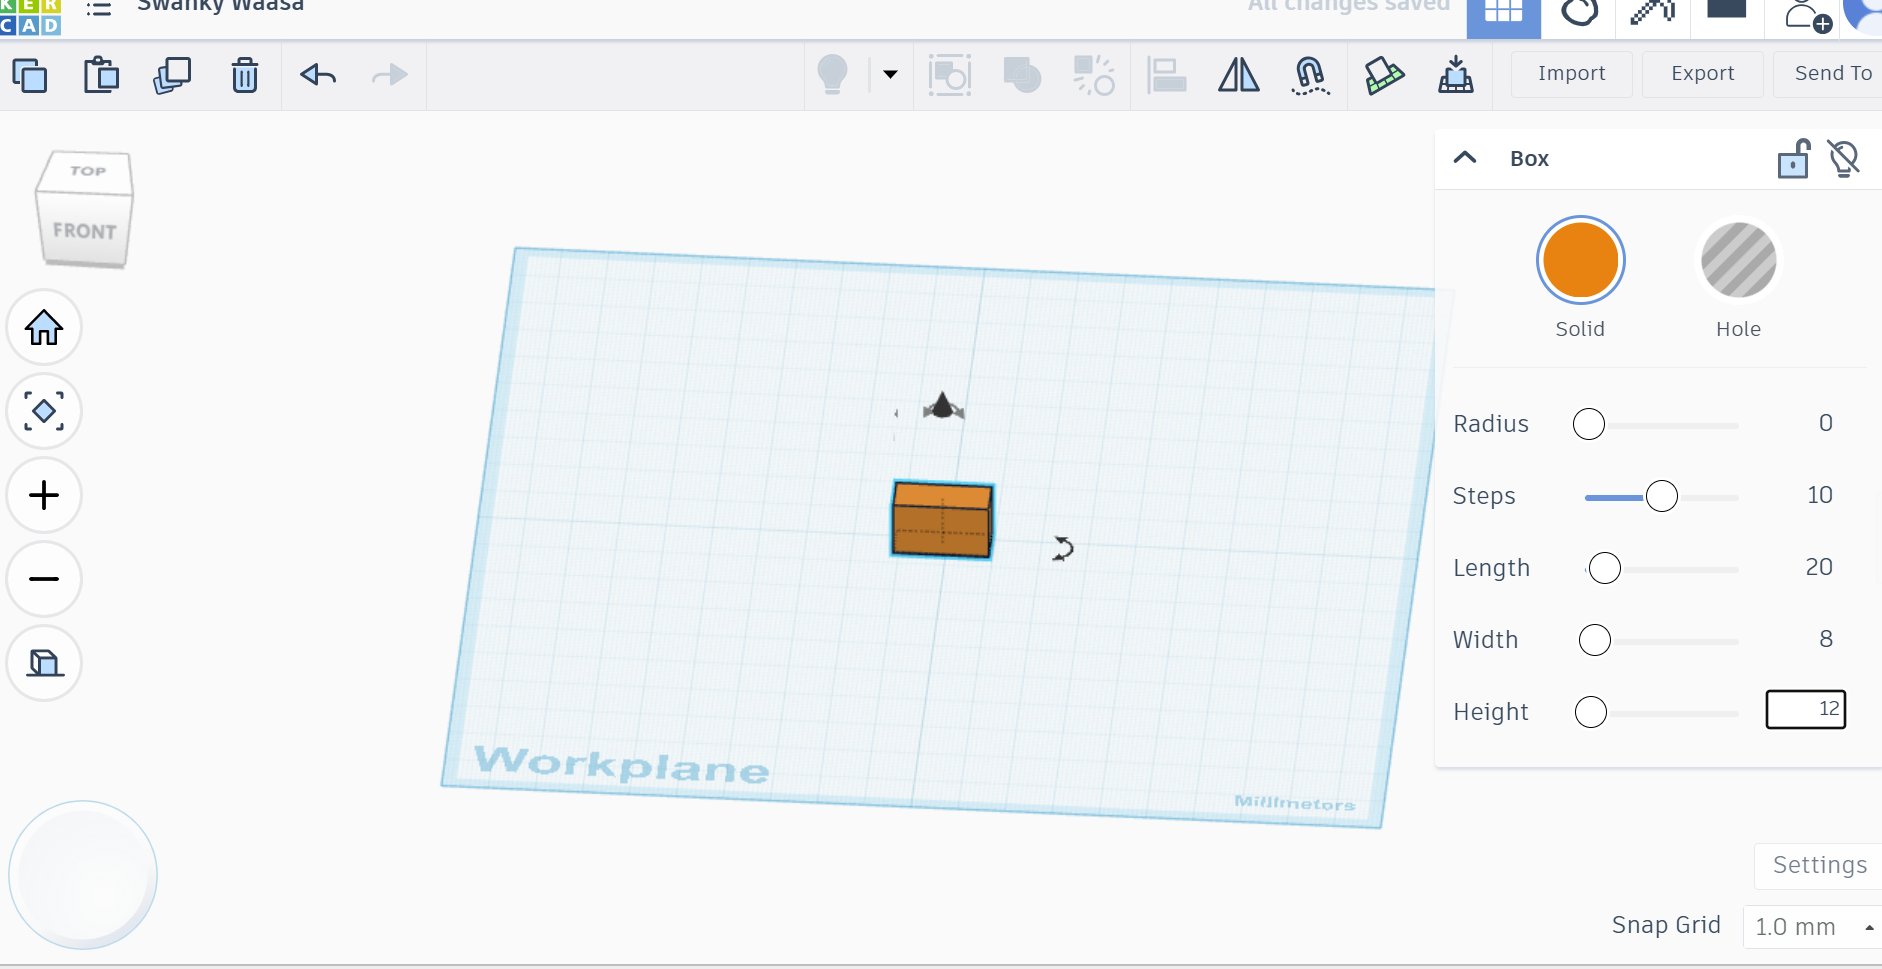
Step 1 — The main block
A box: 20mm long, 12mm tall, 8mm deep. That's the body of the tag.
Step 2 — The hole
A second box set to "Hole" — Tinkercad's way of making a shape subtract from another instead of adding. Position it inside the main block, group them, and you get a cutout. I started with a square hole, then switched to a cylinder for a cleaner round tunnel that matches the cable's circular cross-section.
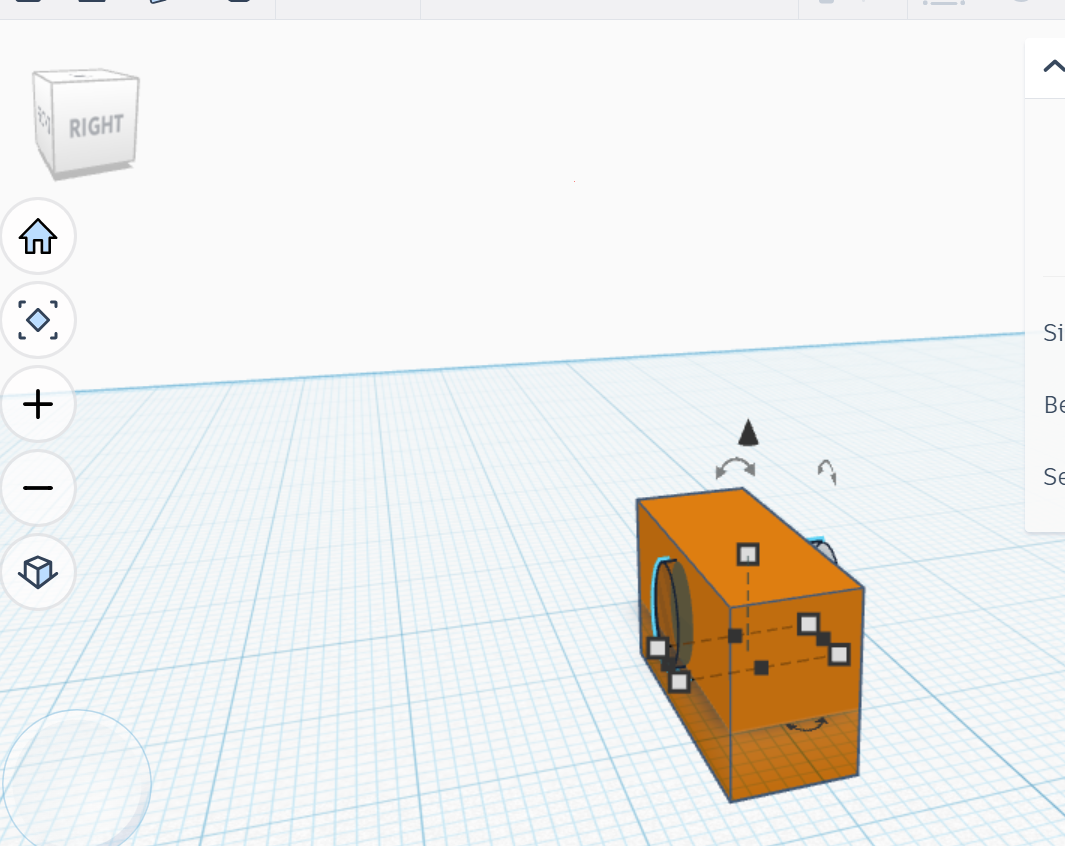
Step 3 — Getting the cylinder right
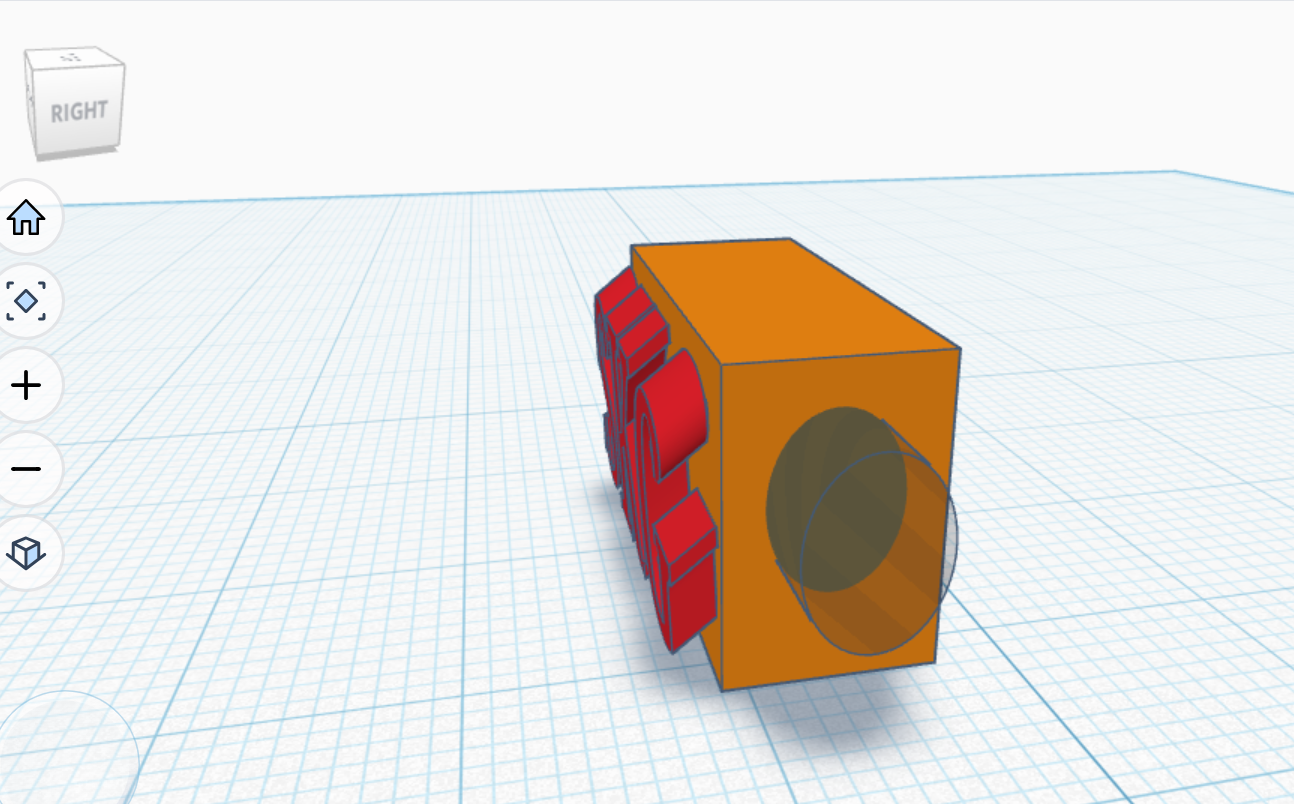
This took the most iterations. A cylinder has an orientation — it needs to run front-to-back through the block so the cable can thread through. Getting it rotated correctly and centered inside the block took a few tries. The RIGHT view in Tinkercad was the most useful angle for checking it.
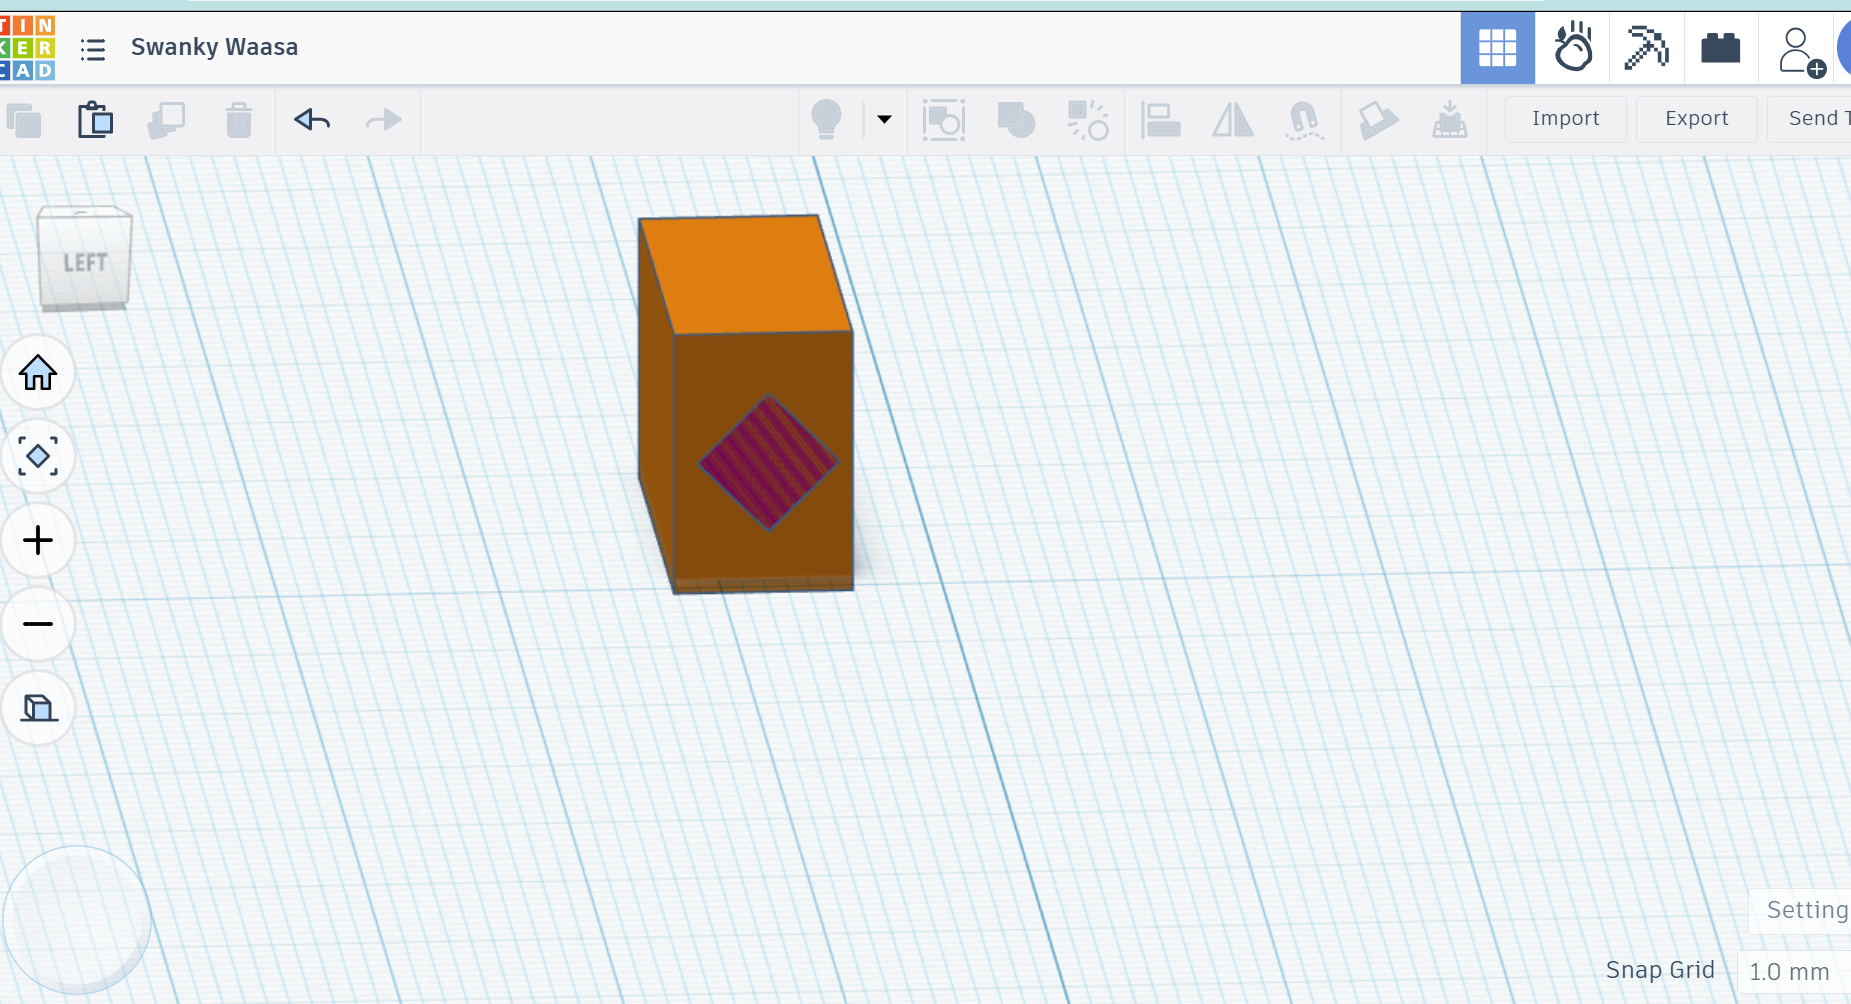
Step 4 — The initials
Tinkercad has a built-in Text shape. I typed SKG, set the height to 3mm so it's chunky enough to feel raised, and pushed it slightly into the front face of the block so it's anchored rather than floating. Solid (not Hole), so the letters stick out.
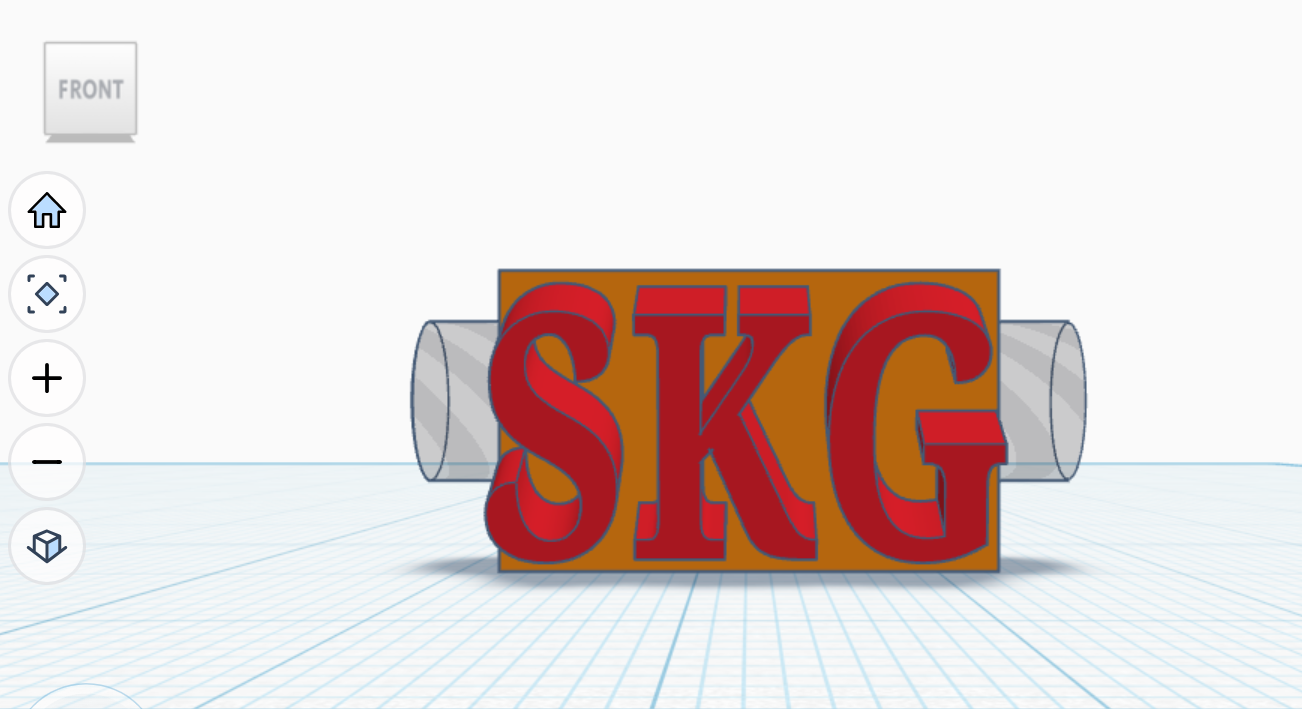
The final design
Group everything, export as STL. The tunnel runs through the short depth of the block. SKG sits raised on the wide front face. It looks exactly like a little signet ring for a cable.
How I actually figured it out
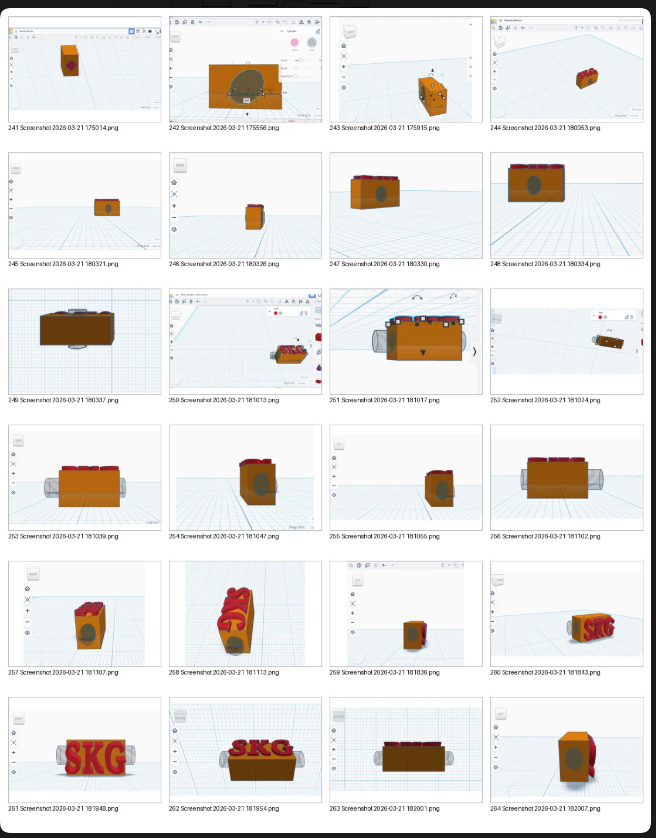
I didn't read a tutorial. My workflow was: make a change in Tinkercad, screenshot what I was looking at, paste it into Claude, and ask "why does this look wrong?" or "how do I get the cylinder to run the right direction?" Claude could see the screenshot and explain exactly what was off — wrong axis, shape not centered, cylinder pointing up instead of through. Then I'd fix it, screenshot again, repeat.
It made the learning loop really tight. Instead of reading docs to understand what I was seeing, I could just show it and get a targeted answer. The contact sheet below is what that process looked like — a lot of views, a lot of small adjustments.
What I learned
- Think about assembly before you design. The connector-end problem — not being able to slide a tag on from the end — completely changed the design. Always think about how the thing will actually go on and come off in real life.
- Orientation matters in 3D. A cylinder pointing the wrong direction is useless. Switching between TOP, FRONT, and RIGHT views in Tinkercad was the key to understanding where things actually were.
- Holes are shapes too. Tinkercad's Hole/Solid toggle is elegant — any shape can be a subtraction. Once that clicked, the whole design process made sense.
- Start simpler than you think. I tried to do too many things at once early on and got lost. Breaking it into one shape at a time, confirming each step, was the right pace.
Next step
Bring the STL to the Capitol Hill Tool Library and print it on the Bambu Lab X1 Carbon. I'll update this once it's in my hands.
Tools used
- Design: Tinkercad (browser-based, free)
- Slicer: Bambu Studio
- Printer: Bambu Lab X1 Carbon (Capitol Hill Tool Library)